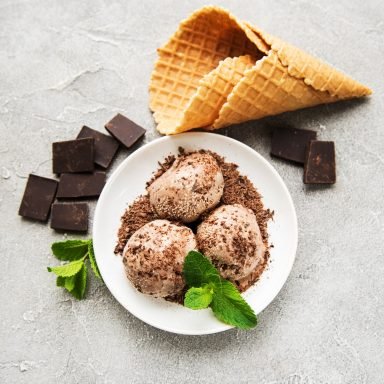
Ninja Creami is a game-changer in the world of frozen desserts. There’s something almost magical about homemade ice cream, and the Ninja Creami takes it to a whole new level. It’s not just the creamy texture, the rich flavor, or the joy of making it from scratch. It’s about the nostalgia it brings. For me, a bowl of homemade ice cream stirs up memories of childhood summers—long afternoons spent chasing the ice cream truck and devouring the coolest, sweetest treats on sweltering days. With the Ninja Creami, you can create ultra-creamy, fluffy delights with ease.

Why I Love This Ninja Creami Recipe
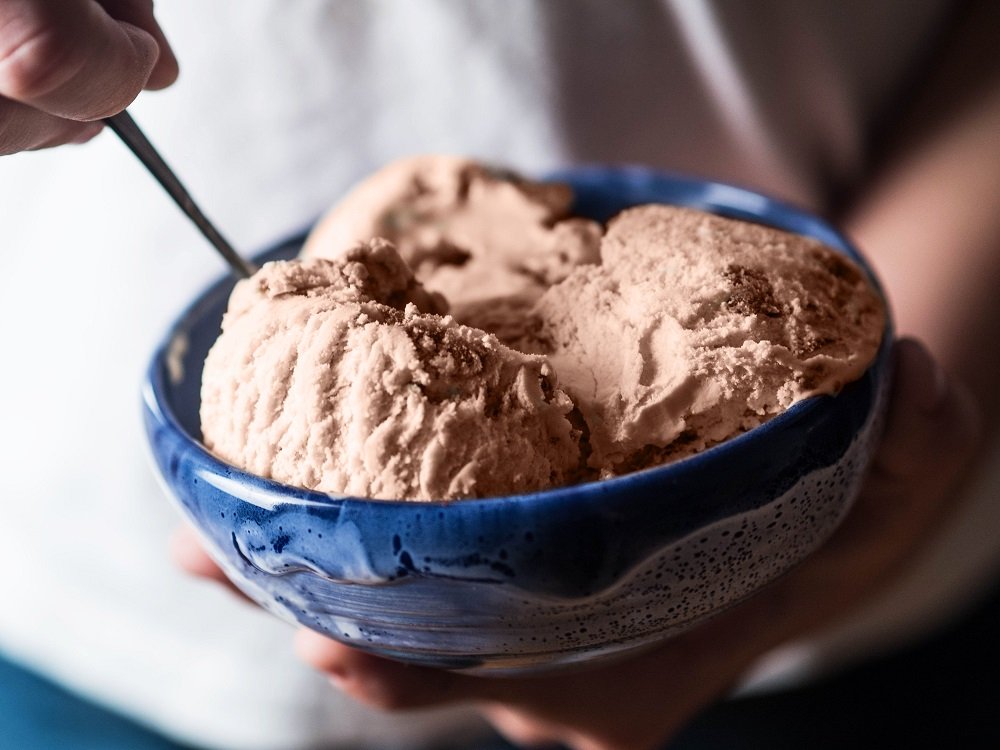
I remember the first time I used the Ninja Creami. I was skeptical. Could a small appliance really deliver the same satisfying texture as my favorite ice cream shop? To my surprise, the answer was yes—and then some. The first batch I made was a rich, velvety vanilla bean ice cream that tasted like something straight out of a gourmet kitchen. The texture was smoother than anything I’d made by hand, with that luscious, melt-in-your-mouth quality that makes each bite an indulgence.
But the convenience is just the beginning. The versatility of this machine blew me away. With the Ninja Creami, you can whip up not only traditional ice cream but also sorbets, milkshakes, frozen yogurt, and more. It’s like having a mini ice cream parlor right in your kitchen. Plus, the ability to customize flavors is an absolute dream. Whether you prefer rich chocolate or fruity, tangy variations, the Ninja Creami empowers you to get creative in the kitchen while keeping things simple.
Ninja Creami Recipe
Equipment
- Ninja Creami machine
- Measuring cups and spoons
- Mixing bowls
- Airtight container
Ingredients
- 2 cups heavy cream
- 1 cup whole milk
- ½ cup granulated sugar
- 1 tsp vanilla extract
- 1 pinch salt
Instructions
- In a mixing bowl, whisk together the heavy cream, whole milk, granulated sugar, vanilla extract, and a pinch of salt until the sugar is completely dissolved.
- Pour the mixture into the Ninja Creami container. Ensure you don’t overfill; leave a little room for expansion.
- Place the container in the freezer and freeze for at least 1–2 hours, or until the mixture is solid.
- Once frozen, load the container into the Ninja Creami machine and select the "Ice Cream" setting.
- After the machine has completed the cycle, scoop the creamy ice cream into bowls or cones and serve immediately. If you'd like a firmer consistency, return the ice cream to the freezer for a few minutes before serving.
Related Video
Notes
- Use full-fat ingredients – For the creamiest, most indulgent texture, don’t skimp on the heavy cream and whole milk.
- Freeze the mixture thoroughly – Make sure the mixture is completely frozen before using the Ninja Creami. If it’s not solid enough, the machine won’t be able to process it correctly.
- Chill the Ninja Creami container – Before pouring in the ice cream base, chill the container in the freezer to ensure it works more efficiently.
- Customize the flavor – Feel free to swap out vanilla extract for other flavorings like almond, peppermint, or fruit extracts. You can also add mix-ins (chocolate chips, crushed cookies, etc.) after processing the base.
- Allow for slight thawing – If your ice cream turns out a little too firm, let it sit at room temperature for 5–10 minutes to soften slightly before serving.
Nutrition
Serving Suggestions For Ninja Creami
The beauty of the Ninja Creami ice cream recipe is that it’s a blank canvas for all sorts of creativity. Once you’ve made the base ice cream or sorbet, you can transform it into endless variations and presentations. Here are a few serving suggestions to take your frozen treat to the next level:
1. Ice Cream Sundae
If there’s one thing I can’t resist, it’s a classic sundae. Scoop your homemade Ninja Creami ice cream into a bowl, and top it with all your favorite sundae toppings—think gooey hot fudge, crunchy nuts, whipped cream, and a cherry on top. You can even sprinkle some crushed cookies or drizzle caramel sauce for an extra bit of indulgence. Each bite will transport you to that nostalgic feeling of your favorite diner sundae.
2. Ice Cream Sandwiches
For a fun, handheld treat, turn your Ninja Creami ice cream into an ice cream sandwich. Use soft-baked cookies (chocolate chip, oatmeal, or even snickerdoodle) and scoop a generous layer of homemade ice cream in between. Press the edges gently and roll the sides in mini chocolate chips, sprinkles, or crushed nuts. The contrast between the chewy cookies and creamy ice cream is just irresistible.
3. Affogato
There’s something special about combining the warmth of coffee with the coolness of ice cream. For a quick but elegant treat, pour a shot of hot espresso over a scoop of your favorite Ninja Creami ice cream. The warm coffee melts the ice cream slightly, creating a rich, creamy coffee float. It’s the perfect dessert to enjoy after a nice meal or during a coffee break.
4. Fruit Parfait
For a lighter, refreshing take, layer your Ninja Creami ice cream with fresh seasonal fruit and granola. Not only does it add a burst of color, but the juicy fruit and crunchy granola provide a nice balance to the smooth, creamy ice cream. This is a great option for brunch or as a satisfying snack.
No matter how you choose to serve it, Ninja Creami ice cream is a treat that brings people together. Whether you’re having a quiet evening at home or hosting a gathering, it’s bound to impress and delight.
You can try also: The Perfect Sauce pan Recipe
Variations Of Ninja Creami
One of the reasons I love using the Ninja Creami is the sheer number of flavor possibilities. You can stick to the classics, or you can get creative with fun twists. Here are a few variations to inspire you:
1. Chocolate Peanut Butter Swirl
If you’re a peanut butter lover like me, you’ll want to try this variation. Add a generous spoonful of creamy peanut butter to your base ice cream mixture before churning in the Ninja Creami. Once it’s finished, swirl in some melted chocolate for a decadent, irresistible combination. The richness of the chocolate and the nutty, creamy peanut butter make this ice cream a total showstopper.
2. Strawberry Basil Sorbet
For a refreshing, tangy twist, try making a strawberry basil sorbet. Blend fresh strawberries with a bit of lemon juice and a touch of sugar, then add a few fresh basil leaves to the mix. The result is a vibrant sorbet with a surprising herbal note that elevates the sweetness of the strawberries. It’s a sophisticated yet refreshing flavor perfect for summer.
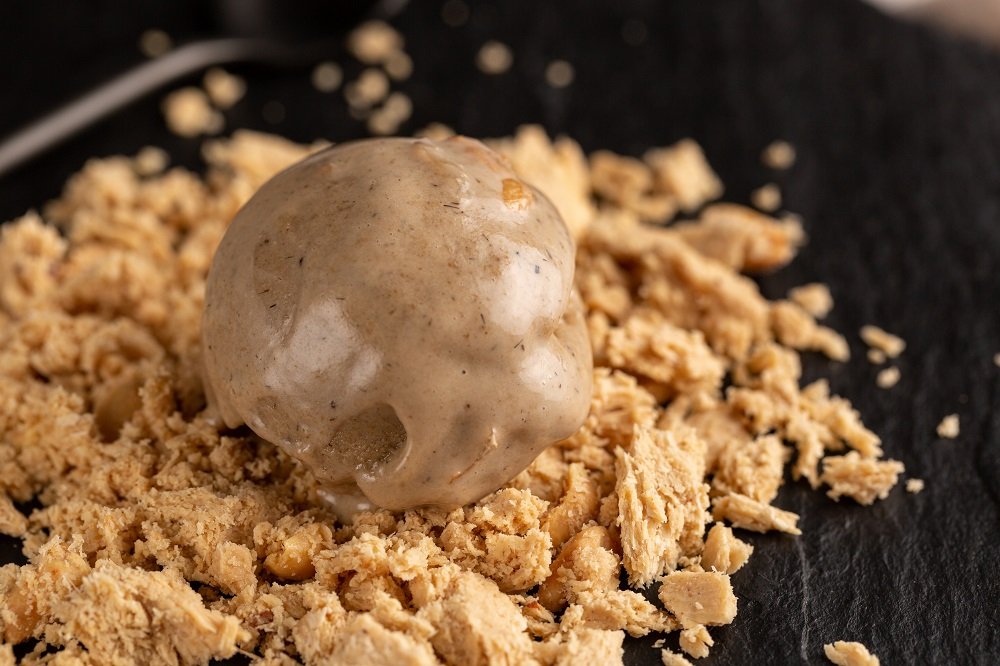
3. Mocha Hazelnut Frozen Yogurt
I love a good coffee-flavored treat, so I combined my favorite coffee drink into this creamy, frozen yogurt variation. Use plain yogurt as the base, then add instant coffee and crushed hazelnuts to create a deliciously rich, nutty, and caffeinated frozen treat. It’s like having your coffee and dessert in one.
4. Coconut Mango Sorbet
For a tropical escape, try a coconut mango sorbet. The natural sweetness of mango pairs perfectly with the creamy richness of coconut milk. This variation is dairy-free and full of vibrant, sunny flavors. It’s perfect for hot days when you want something light yet indulgent.
These variations are just the beginning—feel free to experiment with different combinations of fruit, spices, and flavors. The Ninja Creami allows you to tailor your ice cream to your taste, making it a fun and rewarding experience.
Storage and Shelf Life of Ninja Creami
Proper storage is key to keeping your Ninja Creami ice cream fresh and creamy. Here’s how to store it for maximum flavor and texture:
1. Store in an airtight container
After you’ve made your ice cream, transfer it to an airtight container. This prevents ice crystals from forming and ensures your ice cream stays smooth and creamy.
2. Keep in the freezer
Store your ice cream in the coldest part of your freezer to maintain its texture. The Ninja Creami ice cream is best when eaten within 2–3 weeks, but it can last up to a month if stored properly.
3. Let it soften before serving
If your ice cream has been in the freezer for a while, let it sit at room temperature for a few minutes before serving. This will make it easier to scoop and restore its creamy texture.
4. Avoid refreezing
Refreezing ice cream can cause it to lose its smooth texture and become icy. Try to only scoop out the amount you’ll be eating to avoid this issue.
By following these storage tips, your Ninja Creami ice cream will stay as fresh as the day it was made.
Health Benefits Of Ninja Creami
While it’s no secret that ice cream is a treat, there are ways to make it a bit healthier without sacrificing taste. Here are a few benefits of making your own frozen creations:
1. Control over ingredients
Making ice cream at home gives you complete control over what goes into it. You can choose natural sweeteners, add extra fruit, or even use dairy-free alternatives to fit your dietary needs.
2. Lower in artificial additives
Many store-bought ice creams contain artificial colors, preservatives, and other additives. By making it at home, you can skip all of those and enjoy a cleaner, more natural dessert.
3. Protein-rich options
Using Greek yogurt or other high-protein ingredients as a base can add a nutritional boost to your ice cream. You can also incorporate nuts, seeds, or even protein powder to up the protein content.
4. Customizable for dietary preferences
Whether you’re gluten-free, dairy-free, or low-sugar, you can tailor your Ninja Creami ice cream to meet your dietary preferences. This allows you to indulge in a guilt-free treat without compromising on taste.
Making your own ice cream opens up the possibility for healthier variations, so you don’t have to feel bad about indulging in a little sweetness every now and then.
Frequently Asked Questions (FAQs) Related to Ninja Creami
Can I make dairy-free ice cream in the Ninja Creami?
Yes, absolutely! You can use coconut milk, almond milk, or oat milk as a base to create delicious dairy-free ice cream. There are endless possibilities, so get creative!
How long does it take to make Ninja Creami ice cream?
The prep time is quick, usually about 5–10 minutes, depending on the ingredients. After that, it takes about 1–2 hours to freeze the base before using the Ninja Creami to blend it into smooth, creamy ice cream.
Can I use frozen fruit in my Ninja Creami recipe?
Yes! Frozen fruit works wonderfully in Ninja Creami recipes. In fact, using frozen fruit can enhance the texture and make for a smoother result, especially for sorbets or fruity ice cream variations.
Do I need to pre-chill the Ninja Creami containers?
It’s not strictly necessary, but pre-chilling the containers can help the ice cream freeze faster and produce a creamier texture. It’s a good tip to keep in mind if you’re in a rush!
Making Ninja Creami ice cream has truly become one of my favorite ways to treat myself, and I hope this recipe and tips inspire you to create your own frozen masterpieces. Whether you’re indulging in a classic flavor or experimenting with new combinations, the Ninja Creami brings joy to every scoop. Enjoy the sweet moments of life, one creamy bite at a time!