queso fresco recipe
If you’ve never made queso fresco from scratch, you’re in for a treat! This recipe allows you to create the most flavorful, fresh cheese that’s perfect for tacos, salads, or even snacking, all while giving you the satisfaction of crafting something authentic and delicious with your own hands.
Equipment
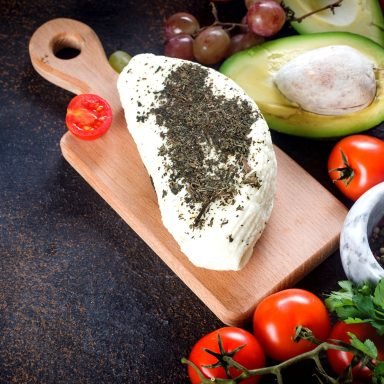
- queso fresco
- Cheesecloth
- Colander
- Large spoon
- Thermometer
- Small bowl
- Press or a weight
Ingredients
- 1 gallon whole milk
- ¼ cup white vinegar
- 1 tsp salt
Instructions
- Heat the milk: In a large pot, slowly heat the milk over medium heat. Stir occasionally to prevent it from burning. Keep a close eye on it, as you want it to reach around 190°F (88°C), just below boiling point. Once it’s heated, remove it from the heat.
- Add the acid: Mix the vinegar (or lemon juice) with a little water in a small bowl. Pour this mixture into the hot milk while stirring gently. This will help the curds form.
- Curdle the milk: Let the milk sit for about 10 minutes, undisturbed. You should see the milk separate into curds (solid) and whey (liquid). If it doesn’t, add a little more vinegar or lemon juice and let it sit longer.
- Strain the curds: Place a colander over a large bowl and line it with cheesecloth. Pour the curds and whey into the colander, allowing the whey to drain off. Let it drain for about 10–15 minutes or until the curds are relatively dry.
- Season the cheese: Once the curds are drained, transfer them to a bowl and add the salt. Mix thoroughly, breaking up the curds into a crumbled texture.
- Press (optional): If you prefer a firmer texture, gather the cheesecloth around the curds and press them with a weight or a heavy object for about 15 minutes. This step helps shape the queso fresco into a more solid block.
- Store and serve: Once you’ve shaped the cheese, you can store it in an airtight container in the fridge for up to a week. Crumble it over tacos, sprinkle it on salads, or enjoy it in any of your favorite dishes!
Related Video
Notes
- Don’t rush the curdling process: Patience is key. Let the milk fully curdle before draining. If the curds are too small or the milk doesn’t fully separate, you might not get that signature texture.
- Taste as you go: Adjust the amount of salt based on your personal preference. You can also add more if you’re planning to use the cheese in a salad or on tacos to ensure the flavor pops.
- For firmer cheese, press it longer: If you prefer a denser, more sliceable queso fresco, give it a longer pressing time. Just remember, it will lose a little of its creaminess.
- Check the temperature: Ensure the milk doesn’t get too hot or boil, as this can affect the texture of the curds. Stick to a gentle heat to maintain the perfect curd consistency.
- Experiment with acid: While vinegar is commonly used, lemon juice can also be a great option if you want a slightly different flavor profile for your cheese.
Nutrition
Nutrition Facts
queso fresco recipe
Serving Size
30 g
Amount per Serving
Calories
80
% Daily Value*
Fat
6
g
9
%
Saturated Fat
3
g
19
%
Monounsaturated Fat
2
g
Cholesterol
20
mg
7
%
Sodium
110
mg
5
%
Potassium
90
mg
3
%
Carbohydrates
1
g
0
%
Sugar
1
g
1
%
Protein
6
g
12
%
Vitamin A
180
IU
4
%
Calcium
160
mg
16
%
* Percent Daily Values are based on a 2000 calorie diet.
Tried this recipe?Let us know how it was!